Well… I was absent from my blog for a while, came and did a post promising to come back in the next few days, then my laptop broke! It’s all better now, so I can finally get back to keeping promises!! Yay!
Whilst waiting for my laptop I’ve been busy making things ready to open my Etsy shop, buying things I will need for shipping, etc, and trying to create a logo for my company! I thought I’d be able to open it within the next week, but it looks like it will more likely be in the next few weeks now as we can’t afford the last few things! I am ridiculously excited about opening my first ever shop! It’s so frustrating having to wait for money to arrive….
So, I promised to show you what I made over Christmas and (finally) here it is! Again, sorry its something Christmassy when Christmas was so far away, but I didn’t get chance to show you and I really wanted to :) I hope you can forgive me!

I made these for presents for all my family. They are just so cute, I just had to show you! I had a big problem with the eyes… I originally bought gold eyes off an Etsy seller, but the way they worded them I actually thought I was getting 20 pairs, not 20 eyes, so I ended up with only 10 pairs… It was my fault for reading the listing wrong, but all the other listings said it in pairs not pieces so I think I got a little confused. Frustrating. The seller was in Canada, so it already took a long time to arrive and it was already getting very close to Christmas by this point, so I decided to try to find some gold eyes somewhere closer. I couldn’t find many gold eyes at all… I think in total I found 2 others. So, my next plan was to buy some clear ones in the right size then colour them myself with some new metallic Promarkers we had recently bought.
When the new eyes arrived the testing began: I did around 3-4 layers of gold to make sure there was no gaps or lines left. I let each layer dry for a few hours, then carefully did another layer. Then I tested one to see if it would come off. It was quite good, but still made some marks which I wasn’t happy with. My next idea was to somehow to varnish them to seal in the colour. The only varnish I had was nail varnish, so it might have worked better with real varnish. I carefully applied a layer of varnish, making sure to cover everywhere. After leaving it to dry overnight I checked it. There was some obvious brush marks…. So, my next plan was to try it again, but try to blob it on and not let the brush touch it. This worked much better!
So, that’s what I went with. They are not as perfect as the perfectionist inside me wanted them to be, but by this point we were almost at Christmas and I still had around 8 more snowmen and robins to make! So, this is the finished result. What do you think?

I am considering that one day I’d love to perfect it so I can have any colour eyes I want for my makes (Especially now I have metallic markers!!) and to maybe sell them if I can get them perfect. There isn’t much online about how to colour your own safety eyes, and anything there is it’s with paint. Maybe no one else has tried Promarkers? Or maybe no one has managed to get a good enough result? I’m not sure! They are meant to be able to write on plastic though, so they should work if I can just get the process right.
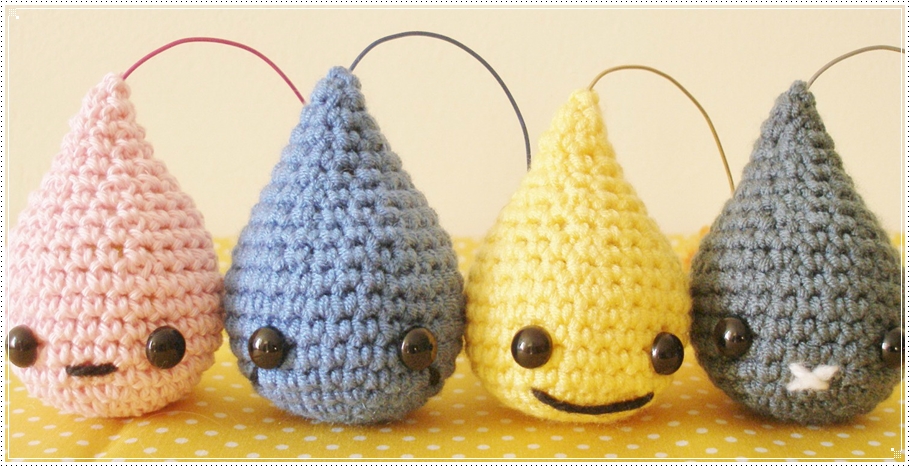
Here is some more images!

Cute little hats!

So, now the last Christmas post you’ll see until the end of the year (Hopefully!!) is over, we can get back to normality! I have quite a few things lined up, so I’ll be back soon!
Sam xx